Visual Materials are used by objects in a game and determine the object's color and other visual properties.
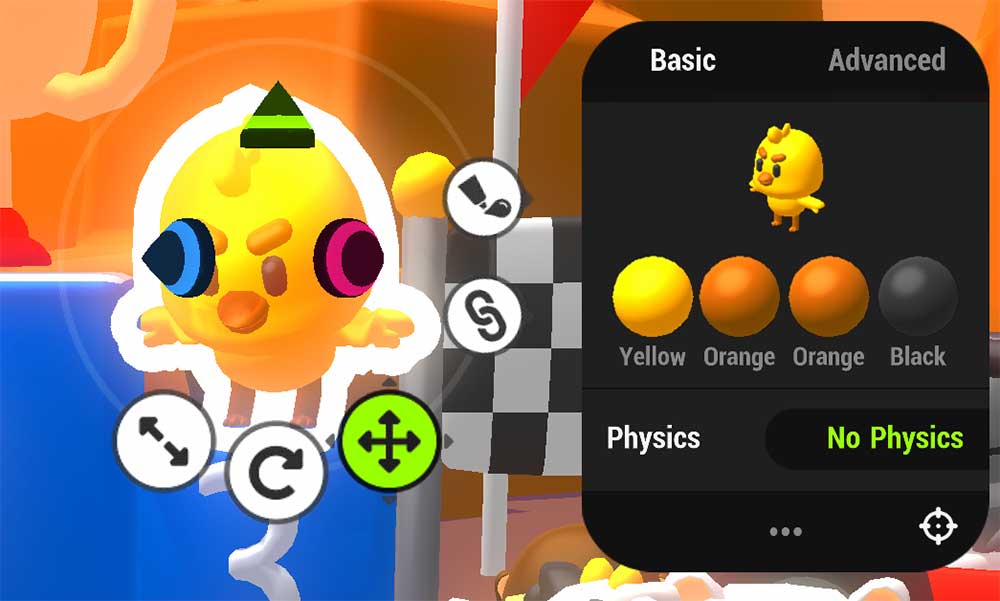
Visual materials can be assigned to an object from the Basic Details panel.

The Visual Node has four Visual Material slots available, but not all objects will use all 4.
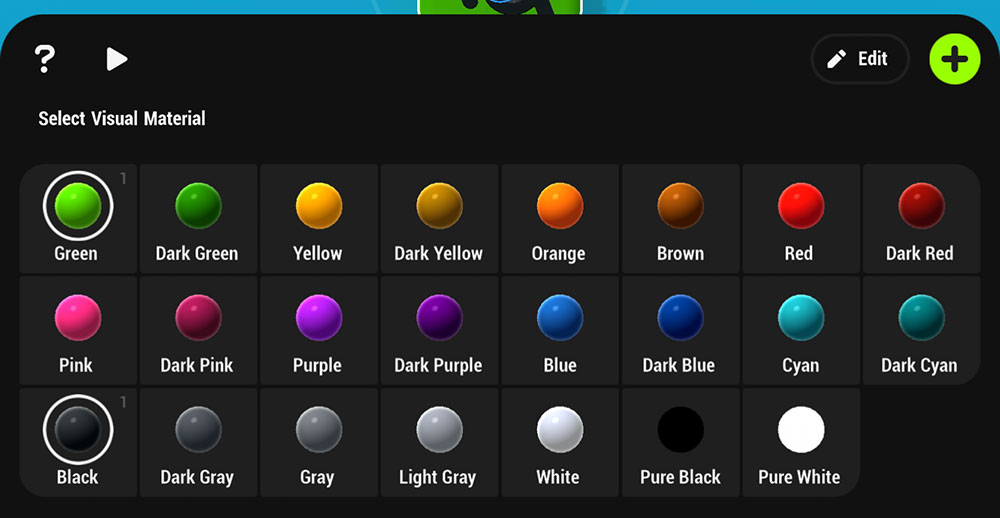
Tap a slot to change a material. Tap the Plus icon to add a new material from the list, or tap Edit and select a material to edit any existing materials. Keep in mind that editing an existing material will change it for every object that is using it.

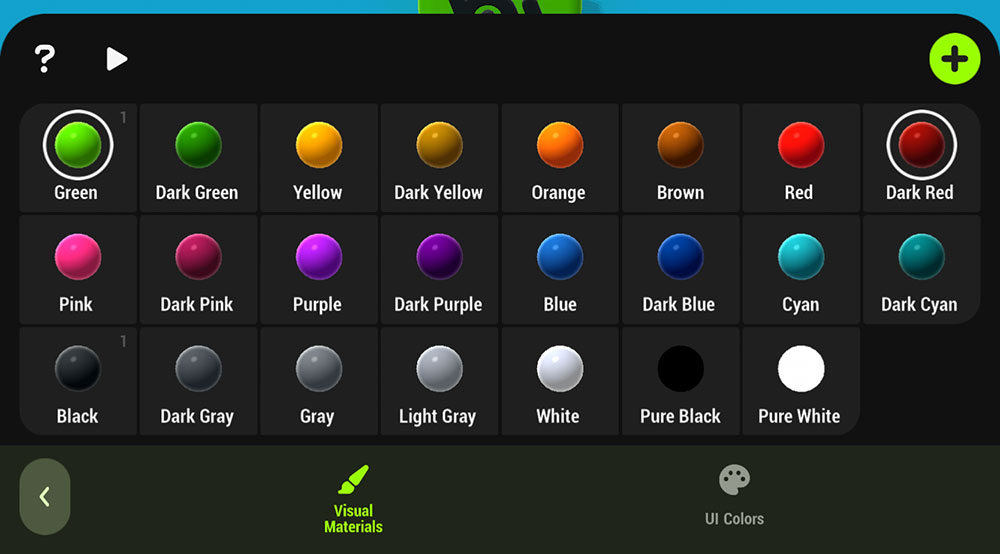
All Visual Materials used in a game can be accessed and managed from the Visual Materials Menu found in the Colors tab of the bottom ToolBar.


The number in the upper right of each material square shows how many objects in the game are using that material.
Tap the + Icon to create a new Visual Material
Tap any material to open the Visual Material Editor.
¶ Visual Material Editor
¶ Menu Options
| Inputs | Actions |
|---|---|
| Playtest | Playtest to see how the changes look during gameplay without leaving the Visual Materials Editor |
| ⤺ Undo | Undo the last action |
| ⤼ Redo | Redo the last undo |
| Copy | Create a new Visual Material from the selected material |
| Delete | Delete the selected material by tapping the trashcan icon |
| Name | Give your material a name |
| Tabs | Switch between tabs to edit various parameters of the material |
¶ Color Properties
| Color | Set the base color of the material |
| Roughness | Set the roughness of the material |
| Metallic | Set how shiny the material is |
| Emissive | Looks as if the material is emitting light |
| Rim | Give the material light around the edges |
Color properties will be affected by the environment lighting, filters and effects used in your game.
¶ Texture Properties
| Texture set | Select texture set. If you don't have any, you can add one from asset library |
| Tiling offset X | Adjusts offset of the texture in X axis |
| Tiling offset Y | Adjusts offset of the texture in Y axis |
| Tiling repeat X | Adjusts the texture tiling on x axis |
| Tiling repeat Y | Adjusts the texture tiling on Y axis |
When using textures, the Color properties will multiply the texture properties. It's recommended to set Color, Roughness and Metallic to 1 if you want texture to appear accurately.
¶ Related Topics
Physics Toolbar Gravity