¶ Make a First Person Game (FPS)
There are a few different ways to create a first person perspective. For this example we will show how to use a premade character to quickly and easily achieve this.
¶ How to make a First Person Game Tutorial
First open the asset library and select a premade player character. Make sure the character has a control scheme that works for you. We’ll take the Nova Runner which can run and jump in 3D.
¶ Camera Rotation
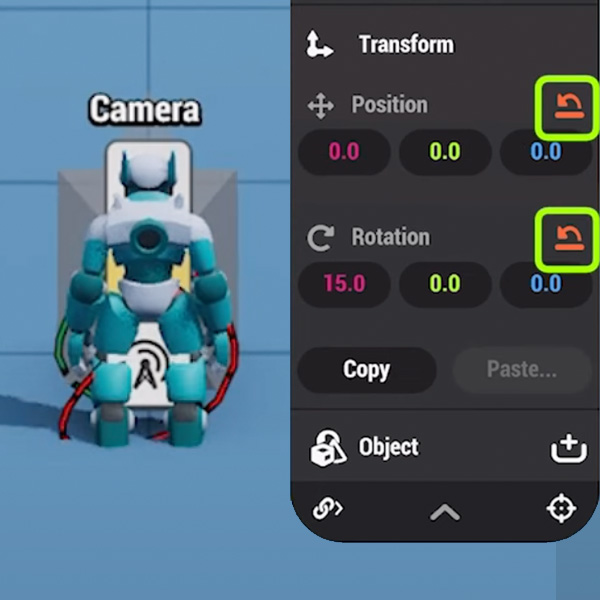
Enable logic view and find the camera node.
Open the transform properties and reset the rotation so the camera looks straight ahead and then move the node so that it is in the position of the player character’s head.
Make sure the player and camera are facing the same direction.

¶ Change FOV (Field of View)
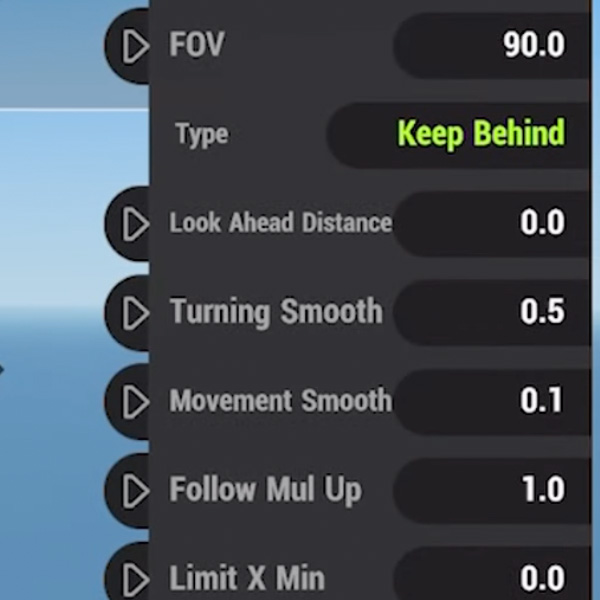
The player character logic will already take control of this camera when the game starts so no need to set a target.
Change the Type to Keep Behind.
First person cameras usually have a pretty high field of view so you’ll want to bump up the FOV as well, setting this value to the max of 90 is a safe place to start.

At this point you should have a working first person character, so give the game a playtest and see how it feels.
Note: it will be helpful to have some objects placed around your Hype so you have points of reference as you move around.
¶ Adjusting Settings
You can make adjustments to the camera position or FOV to adjust how it looks.
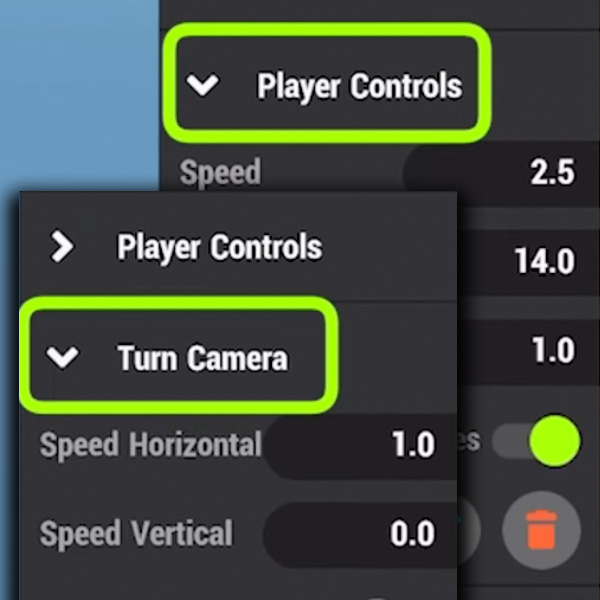
You can edit character & camera movement settings in the Player Controls & Turn Camera Behaviors.
If you are having issues with the camera clipping the player model you can make the Character model invisible.

¶ Related Topics
Cameras Overview Working with Camera Nodes Camera Types