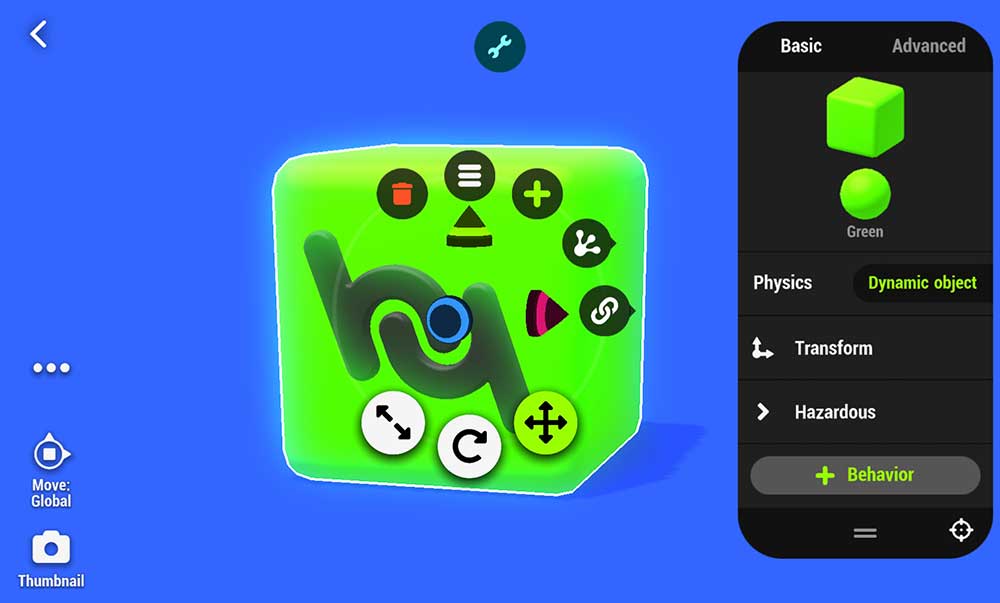
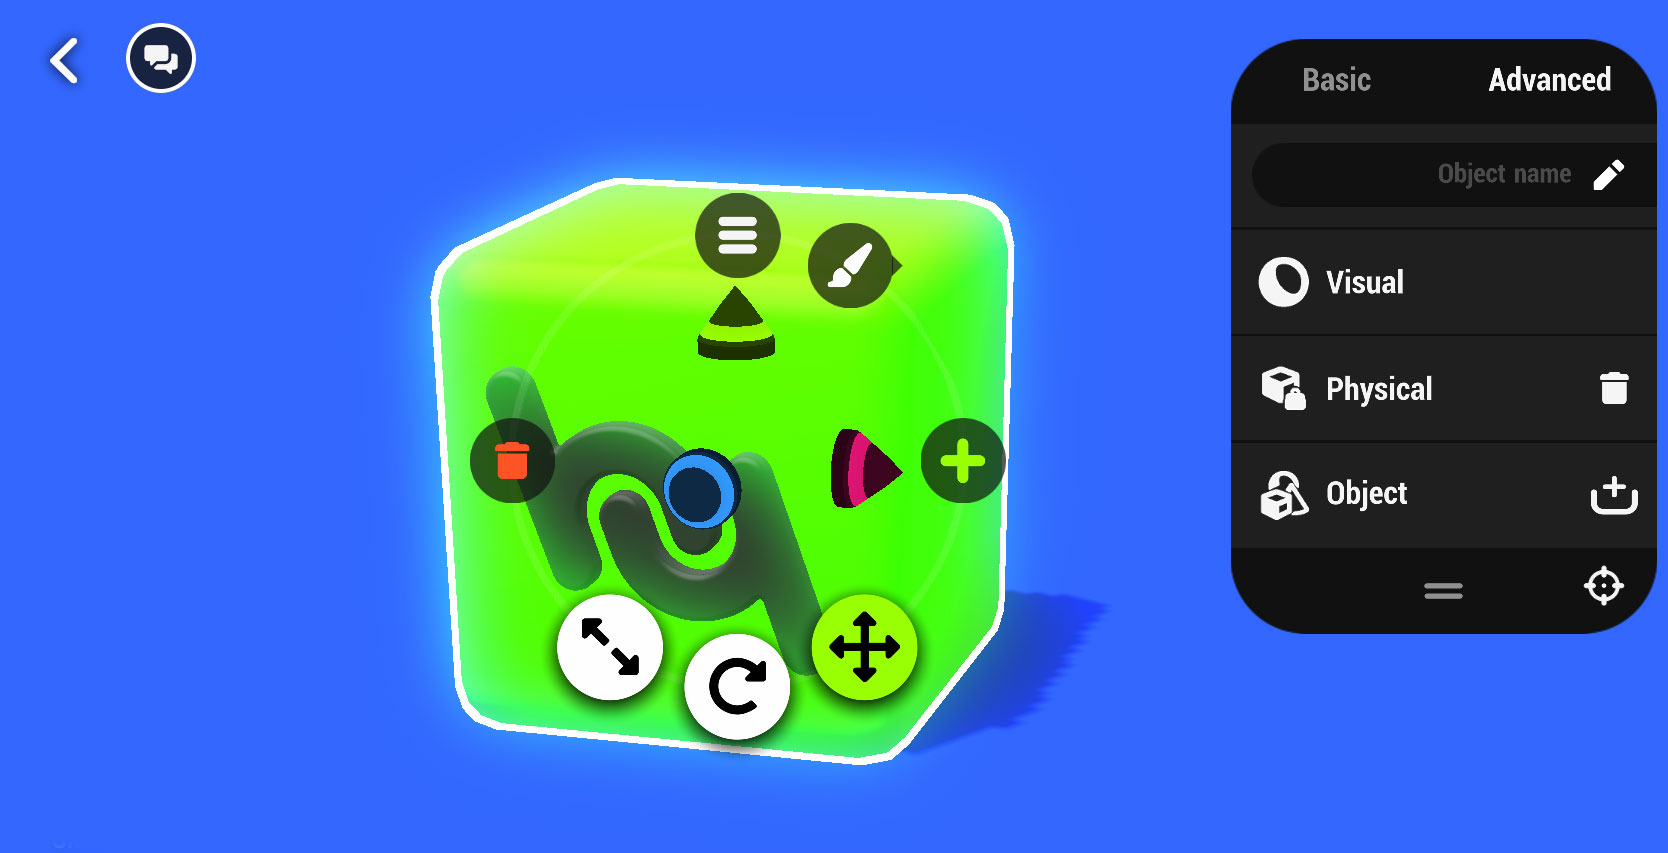
When an item is selected a details panel will appear in the upper right corner of the screen. By default Visual Objects show the Basic details panel while Node Objects will show the Advanced details panel. Switch between Basic and Advanced details panels by tapping the tabs at the top of the panel.
¶ Basic Details

| Asset Preview | Preview image of the selected object. Tap the image of the asset to swap it out with a new asset from the Asset Library. See Asset Replace for more. |
| Visual Materials | The 4 colored spheres represent the Visual Material used by the object. Change the object’s visual materials by tapping on the spheres.. |
| Physics | Quickly change the object’s physics type to one of 3 options: No Physics, Unmovable Object or Dynamic Object Note: Setting this to Unmovable Object or Dynamic Object will automatically add a Physical Node in the Advanced Details Panel |
Transform |
Expand to reveal and manually edit transform values (position, rotation & scale) |
Behavior Settings |
Any Behaviors applied to an object will appear at the bottom of this panel. If they have editable properties they can be edited here. |
| + Behavior | Tap to select Behaviors from all behaviors available in your game |
| Tap the drawer icon to expand or collapse the details panel. | |
| Tapping the target icon will center the editor camera on the selected object |
¶ Physics Types
| No Physics | The object is visual only, it has no physical body. Good for performance but physical objects will pass right through it. |
| Unmovable Object | The object has a physical body but cannot be moved by physics. This is the “Static” setting in the Physical component. |
| Dynamic Object | The object has a physical body and can be physically moved by other objects or forces. This is the Dynamic setting in the Physical component |
¶ Advanced Details
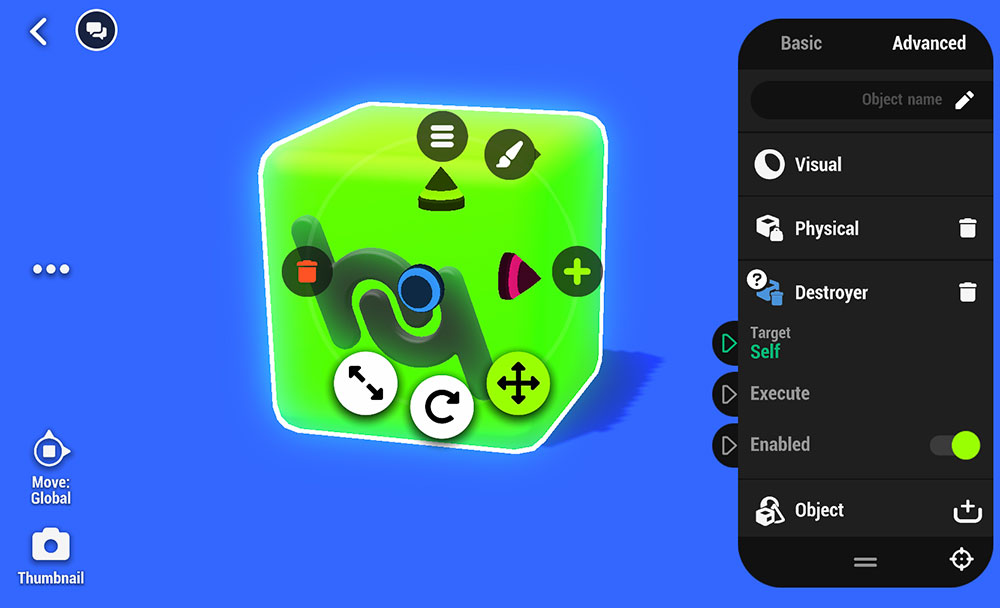
In the Advanced Details Panel you can access all of the Nodes contained within the object.

Additional Nodes can be added by tapping the + Icon to the right of the Object Node.
Tap on a Node to expand its view and edit its parameters.

With the view expanded a small question mark appears over the Node Icon, tap that question mark to access the Learning Hub entry for that Node. Learning Hub entries open in a window over the editor so that when you close the window you can continue right where you left off.
![]()
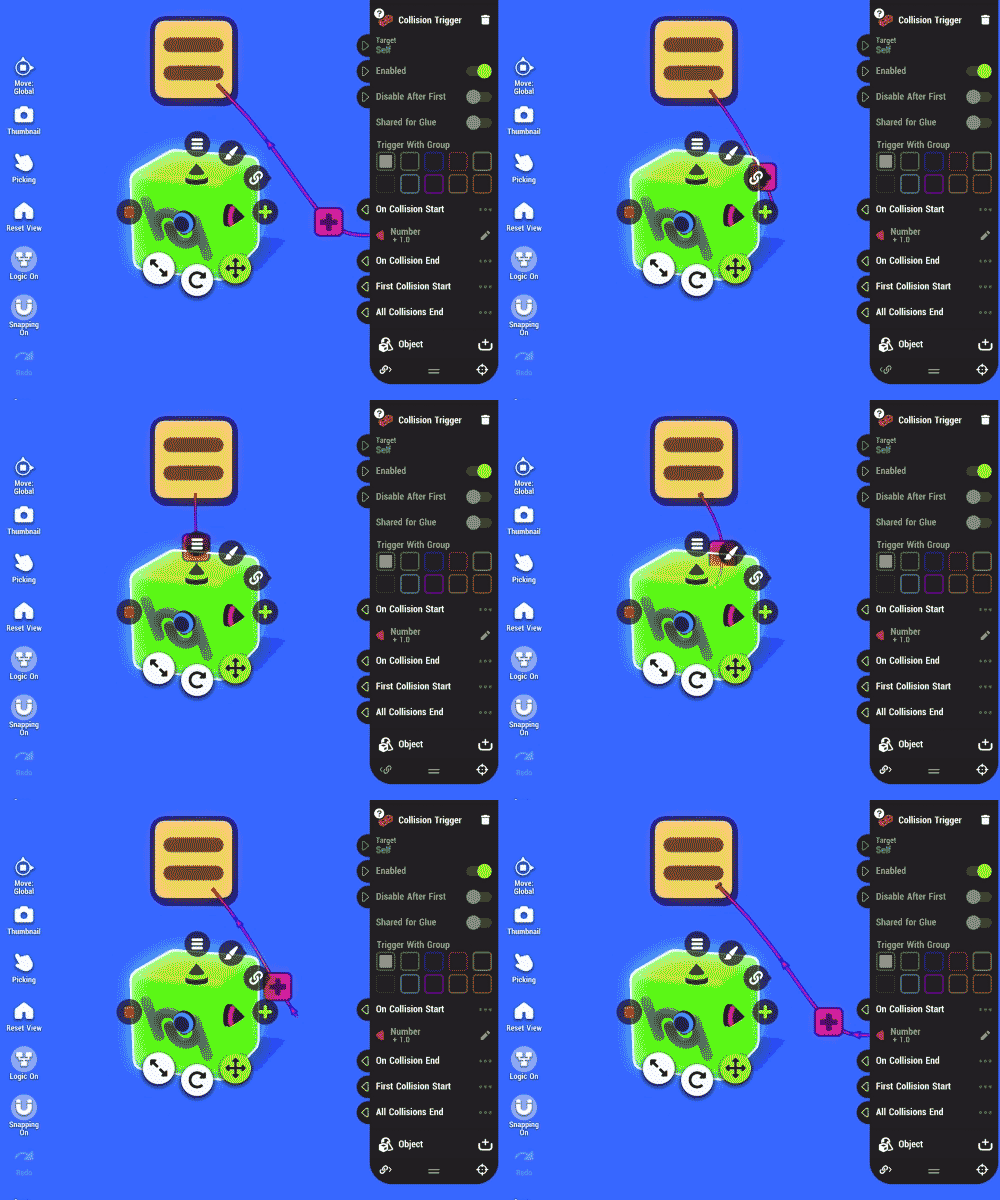
Links made using Nodes in an object will be visualized by lines connecting the Nodes to the object it is targeting. While the details panel is open this visualization can be changed with the Link Visualization icon at the bottom of the details panel. With this option turned on links will appear between the Details Panel and the targeted objects. With it turned off links will run between the object holding the Nodes and the targeted object.
