¶ Selected Object Widget
| Editing Mode | Tap to choose between editing modes: | ||
| Move | Rotate | Scale | |
| Object Editing | Drag from the Editor Mode icons or from the handles around the object to start editing it | ||
| Glue | To glue two objects together, drag from the Glue icon and release on top of the Glue target object Tap the Glue icon to see and remove Glue connections |
¶ Movement
When an object is being moved the editing plane grid will appear.
If the Editor camera is aligned (or close to be aligned) with any specific axis of the Editing Plane objects will maintain alignment with that axis when moved.
When moving an object with the Move icon objects will snap to the ground when near it. Moving an object on a single axis with the handles it will not snap to the ground.
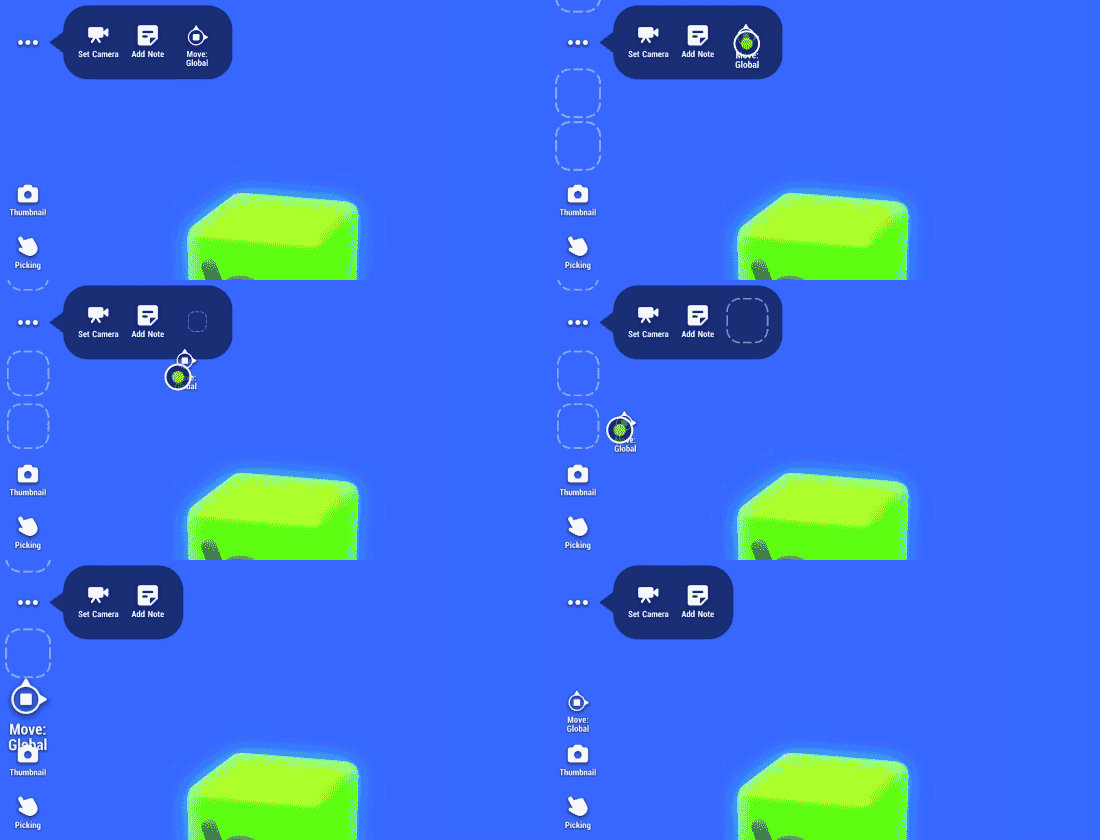
The type of movement or Transform Space, can be changed in the Quick Menu. You can select between movement based on global coordinates, local rotation of the object or the Editor camera orientation.
¶ Handles
When an object is selected 3 handles will appear around it. Use these handles to move the object on one axis at a time.
The handles are color coded based on which axis they adjust.
 |
 |
 |
| Red edits the X axis | Blue edits the Z axis | Green edits the Y axis |
The handles will appear different depending on the editing mode.
 |
 |
 |
| Arrows move | Circles rotate | Squares scale |
¶ Details Panel
When any item is selected it’s details panel will appear in the upper right corner of the screen. Visual Objects show the Basic details panel by default while Node Objects will show the Advanced details panel. Switch between Basic and Advanced panels by tapping the tabs at the top of the panel.
Find more information on the Details Panel entry.
¶ Toolbar
With an object selected the Toolbar displays a number of options for working with that object
| Delete | Delete the selected object |
| Duplicate | Immediately create a new instance of the selected object |
| Copy | Copy the selected object or objects to the clipboard. See Copy & Paste for details |
| Locate | Centers the editor view on the selected object |
| Make Reusable | Collects the selected object and logic into a Reusable Container and replaces the object in the scene with an instance of the reusable |
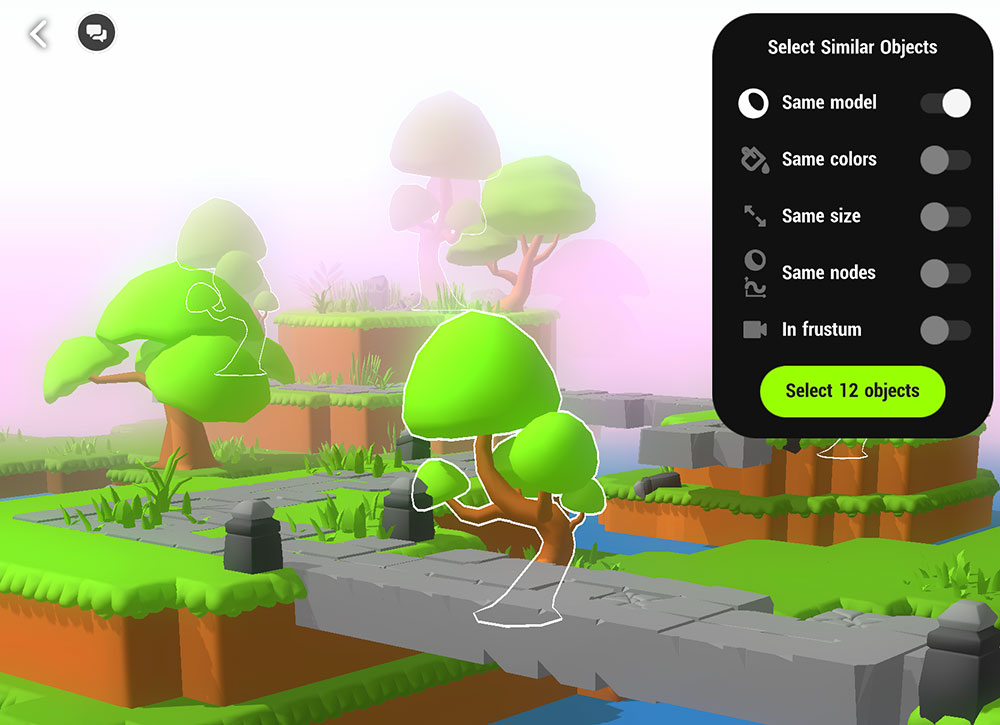
| Select Similar | Brings up a menu with options to select similar objects. |
| Align with Live Physics | Tapping this will activate physics on the selected object allowing it to fall or interact with other objects in the editor. |
| Show In Hierarchy | Show the selected object in the hierarchy menu |
| Save to My Assets | Saves the selected object to your assets, found in the My Assets tab of the Asset Library |
| Link Debug in Test Play | View links coming in or out of a Node during Playtesting. See Node Debugging for more details |
¶ Copy & Paste
Copy any object or group of objects to the clipboard by tapping Copy in the bottom Toolbar.
Note: this is different from Duplicate which immediately makes 1 new copy of an object or group of objects.
Once something has been copied a Clipboard Icon will appear in the lower right side of the screen to the left of the Asset Library
Tap the Clipboard and select which copied group you want from the Paste pop-up.
The clipboard can hold up to 5 unique copy groups.
Copied objects will remain in the clipboard when switching between Game projects.
¶ Select Similar Objects Menu
This menu includes 5 toggles that can be used to filter the objects that will be selected.
Before making a selection, the objects currently included in the filter will appear with a white outline in the editor.

| Same Model | Selects Objects using the same visual model. This filter is selected by default and cannot be unselected. |
| Same Colors | Selects Objects using the same visual materials |
| Same Size | Select Objects with the same scale properties |
| Same Nodes | Select Objects that contain the same Nodes |
| In Frustum | Only select objects that are currently in view of the Editor camera. |
| Select # Object/s | Tap this to select all filtered objects. The number in this button will update based on the filters selected to show how many objects will be selected. |
¶ Advanced Transform
The Advanced Transform options found in the Details panel allow you to manually input values for position, rotation and scale as opposed to using the widget handles to make changes.
¶ Transform Spaces
Transform spaces determine how an object will be transformed when making changes via widget handles or inputting values into the advanced transform menu. The Transform Space can be changed from the Quick Menu. By default the icon to switch between transform spaces is behind the 3 dots icon but can be manually added to the side panel.

The text under the icon will change depending on the transform type being used and the currently selected transform space.
| Local | Transform is based on the object’s orientation. For example, if an object is flipped upside down lowering the Y value will move the object up instead of down |
| Global | Transform is based on global X,Y & Z coordinates regardless of the orientation of the object or the camera. |
| Camera | Transform is based on the orientation of the camera: X moves left or right in the camera view Y moves up or down in the camera view Z moves forward or backward in the camera view |
Not all transform types use all transform spaces.
¶ Related Topics
Quick Menu Asset Library Transform Space