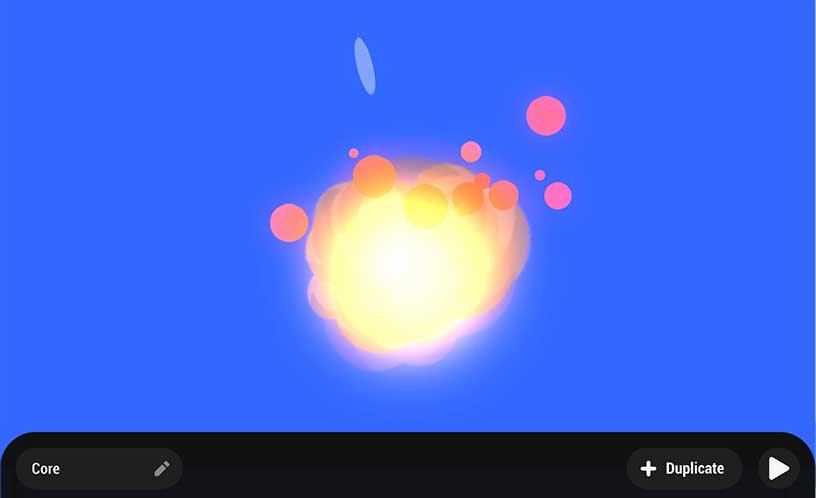
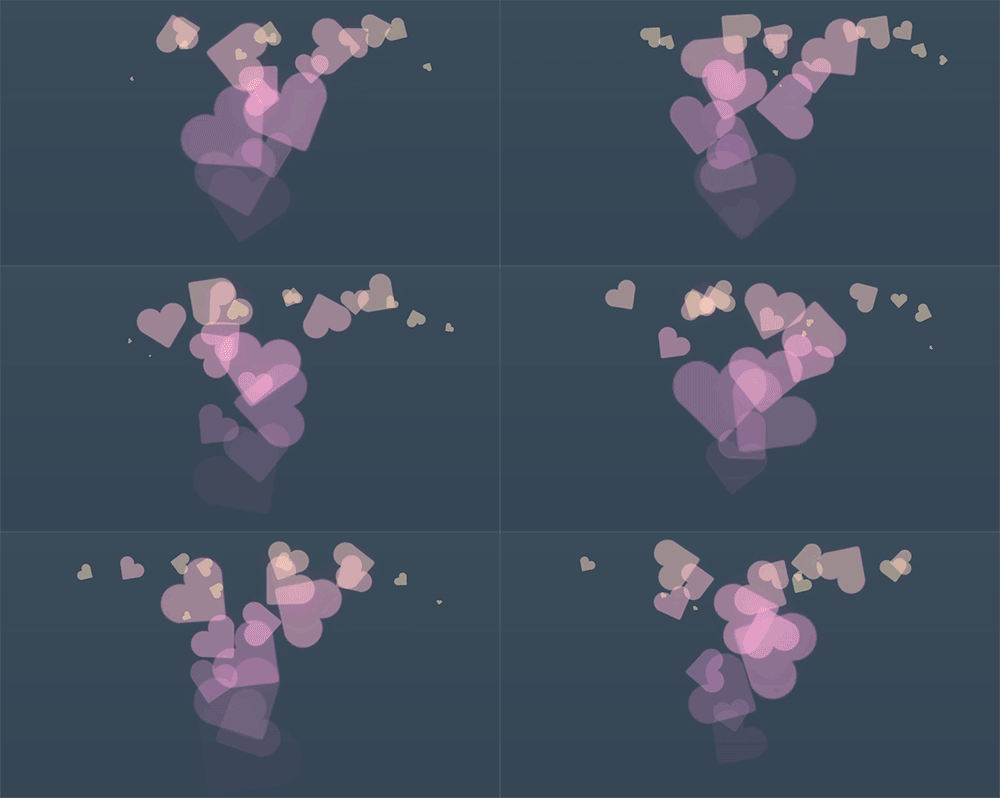
Particle Effects can be used to create explosions, flames, water splashes and more. As the name suggests, these effects consist of one or more particles you can modify in the Particle Effect Editor. All the Particle Effects in your scene can be managed and edited in the Effects tab of the Build Menu. Particle effects are used by the Particle Effect Node.
To find the Particle Effect Editor, navigate to the Build menu's Effects tab, select an effect and tap the pencil icon:
https://wiki.hypehype.com/nodes_reusables_addons/effect_editor_start.mp4
The Particle Effect Editor Main Menu is where you control some basic settings for the Particle Effect and access the individual Emitters. The quickest way to create a unique effect is by duplicating an effect, and by editing it to your liking. If you're for example creating a new weather, explosion or trail effect, use one of the existing effects as the basis.

¶ Options
| Name | Give the Particle Effect a name |
| Duplicate | Create a new unique version of the Particle Effect • The new Effect will appear in the Particle Effect Menu |
| Trashcan | Delete the entire Particle Effect |
| Emitters | Tap an Emitter to edit its parameters |
| • Trashcan | Tap the trashcan to delete an individual Emitter |
| Plus Icon | Add a new Emitter to the Particle Effect |
¶ Emitters
Particle Effects are made up of Emitters that produce particles. An individual Particle Effect can have up top 5 Emitters in it.
¶ Emitter General Options

These options are visible in every tab when editing an Emitter.
| Name | Name the Emitter so you can easily identify what it is doing |
| Duplicate | Duplicate the selected Emitter |
| Play | Play a preview of the Particle Effect • The preview will play above the Particle Effects Editor Menu • If any Emitter does not have a set duration the preview will always be visible |
¶ Settings Tab
The Settings Tab includes parameters that relate to the amount of particles created, how long they last.

¶ Options
| Particle Age | Set how long each individual particle will last, measured in seconds. • Set this to 1 and each particle will last for 1 second. |
| • Random | Add some randomness to how long each particle lasts. • Example with random set to 0.5 a particle with an Age of 2 could last anywhere between 1.5 to 2.5 seconds. |
| Emission Rate | Set how quickly the Emitter produces new particles, measured in seconds. • A value of 1 will produce one particle a second, the lower value, the more particles. • A value of zero will produce no particles based on time and instead will produce a single burst of particles based on the Particle Amount. |
| • Random | Add some randomness to how quickly the particles are produced |
| Particle Amount | Set the number of particles to create if the Emission Rate is set to zero |
| Duration | Set how long the Emitter will produce particles, measured in seconds • set to 1 the Emitter will sop producing particles after 1 second • set to zero the Emitter will produce particles endlessly |
| Stretch by Speed | Toggle this on to have the Emitted Sprites stretch based on how fast they are moving when they are produced • note that the stretch is based on the starting speed and will not adjust if the particle speed changes |
| Shoot to Direction | Toggle this option on to have the direction that particles are emitted e based on the orientation of the Particle Effect Node • Example, the direction of a rocket trail effect should turn based on the orientation of the rocket |
¶ Sprite Tab
The Sprite is the shape of the emitted particle.
![]()
¶ Additive Blending Toggle
Toggle on to give sprites an additive blending mode. With additive sprites the color of particles that overlap will become brighter

¶ Size Tab
The size parameters determine the size of each sprite emitted.

¶ Size Start
This is the size of each sprite the moment it is emitted. Sprites can be scaled by width and height together or independently, allowing you to stretch and manipulate the look of each sprite to some degree. The size can also be randomized. The random values will be added or subtracted from the Size Start values to determine the value range for randomization.
¶ Size End
The particle can change size over the duration of it's life and the Size End values will determine the size of the sprite at the end of it's life. Like Size Start the sprite can be scaled & stretched and these values can be randomized. The duration of the transition from Size Start to Size End is determined by the particle's life, set in General > Emission > Particle Age.
¶ Color Tab
Set the color & transparency of the emitted sprites.

¶ Color Start
This is the color of the sprite when it is first emitted. Select a color by tapping the preview to bring up the color picker. You can also randomize the RGB values of your color to get a wider variety of colors from a single emitter.
¶ Color End
Like Size the color of sprites can be changed over their life. Color End has the same options as Color Start. The duration of the color change is determined by the particle's life, set in the Settings Tab.
¶ Fade
The Fade determines the transparency of the sprite.
The Fade can be changed over the life of the sprite. The In & Out sliders determine the Fade of the sprite when it is created and when it is destroyed. With these sliders the minimum value of zero will be a fully visible sprite while the maximum value of 1 equals a fully transparent or invisible sprite.
The Max slider determines the maximum transparency of the sprite. The Max value is the reverse of In & Out, zero is invisible, while 1 equals no transparency. This slider will affect the Fade set by the In & Out sliders. For example, if the Max slider is set to 0.5, or 50% transparency, than setting the In & Out transparency to zero (max opacity) will result in a sprite that is 50% transparent.
¶ Transform Tab
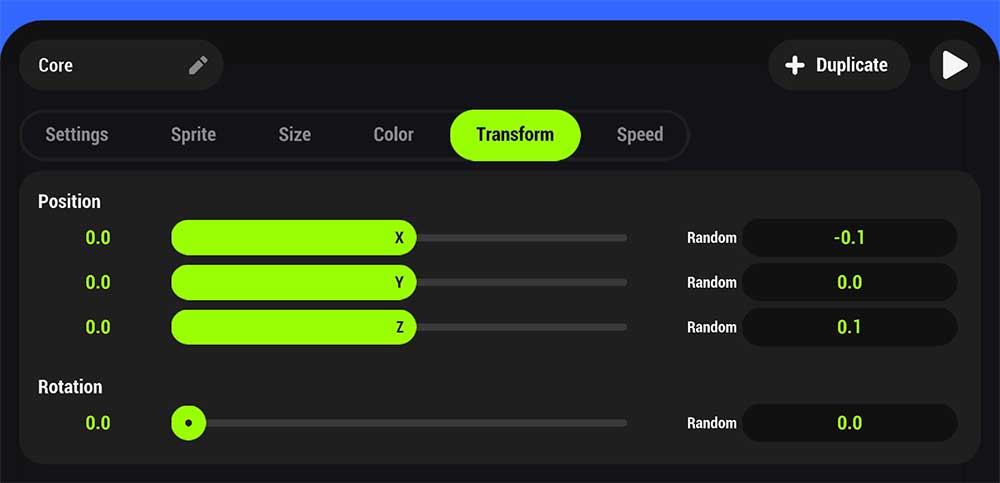
The transform options control where and how the sprites are emitted from the Particle Effect Node.

¶ Position
The position is where the particles will be emitted from in the game world. Particles can be emitted in the game world via Particle Effect Node. The zero point for the X, Y & Z coordinates in this menu is the center of the node or the target object emitting the particles. Adjust the X, Y & Z coordinates to set where the particles will emit.
All 3 coordinates can also be randomized. Randomizing position coordinates will increase the area within which sprites can be emitted.
| X | Moves the emitter horizontally, left and right |
| Y | Moves the emitter vertically, up and down |
| Z | Moves the emitter horizontally, forward and backward |
¶ Rotation
The rotation settings will determine the rotational angle of the sprite when it is created.
Value is the amount of rotation and is measured in degrees, 0-360. The rotation can also be randomized with the Random slider.
These settings do not spin the sprites after they are emitted, they only determine what angle the sprites are spawned at. To spin sprites you will use the Turning Speed settings found in the Speed tab.
¶ Speed Tab
The options in this menu control how the sprite will move after it has been emitted.

¶ Speed
These three options determine which direction and at what speed the sprites will shoot out of the emitter. The higher the value on any axis, the faster the sprite will travel in that direction.
| X | Shoots particles left or right • positive values shoot right • negative values shoot left |
| Y | Shoots particles up or down • positive values shoot up • negative values shoot down |
| Z | Shoots particles forward or backward • positive values shoot forward • negative values shoot backward |
The X, Y & Z coordinates can also be randomized. Randomizing the direction will make a wider angle that the sprites can shoot in. If they are all emitting from the same position this creates a spread of particles.
¶ Turning Speed
Turning Speed determines if and how much the sprites spin after being emitted. A positive value will spin the sprites clockwise, negative values spin counter clockwise. Turning Speed can also be randomized.

¶ Gravity
These parameters determine if the particles are affected by outside forces after being emitted. Force can be applied to X,Y & Z parameters individually so these settings can pull sprites in any direction, not just down.
| X | Pulls sprites horizontally, left and right • positive values pull right • negative values pull left |
| Y | Pulls sprites vertically, up and down • positive values pull up • negative values pull down |
| Z | Pulls sprites horizontally, forward and backward • positive values pull forward • negative values pull backward |

¶ Related Topics
Using Particle Effects Creating Particle Effects