¶ What are Nodes?
Nodes are the core building block for no code creating. There are a wide variety of nodes, and each has a specific function or job. By combining nodes together you can build just about any type of game mechanic you can dream up.
Understanding how to work with nodes will greatly increase the possibilities of what you can create.
¶ Node Library
The recommended way to add most logic nodes is via the Logic menu in the bottom of the editor. Nodes are split into different categories.
https://learn.hypehype.com/editor-overview/logic-and-nodes-overview/logicoverview_categories.mp4
See Node Categories for more information on this topic.
¶ Controlling the Logic View
When you tap the Logic tab in the bottom bar, all logic nodes in the game will become visible. Logic nodes may also appear e.g. if you edit a reusable, or add a ready-made logic component like the Game End System from the Asset Library. To hide the nodes, exit the Logic tab by tapping the Back button on the bottom left.
If you want the logic nodes to remain visible at all times, tap the 3-dots on the left > View > Logic Mode > On
¶ Node parameters
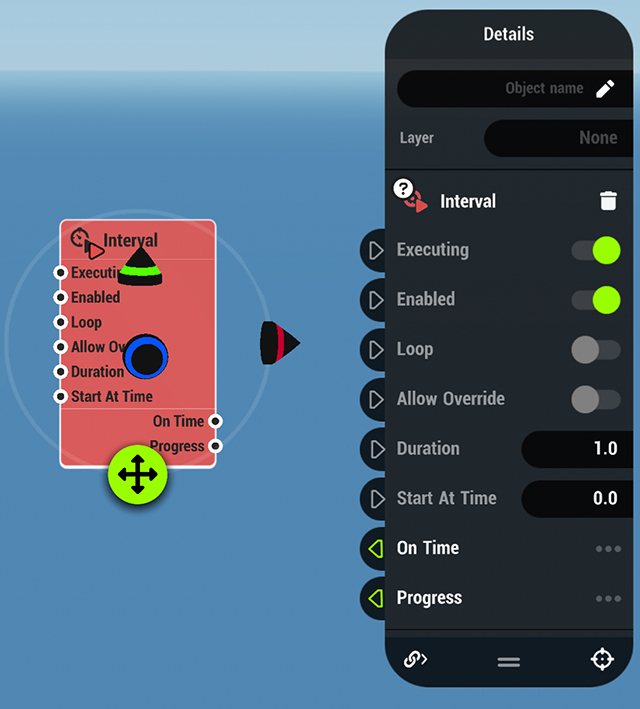
Each node has editable parameters that can be accessed via the Details panel. Editable parameters vary by node, and most of them can be changed during gameplay with links.

For more information on a particular node, visit our Node documentation.
¶ Connecting Nodes
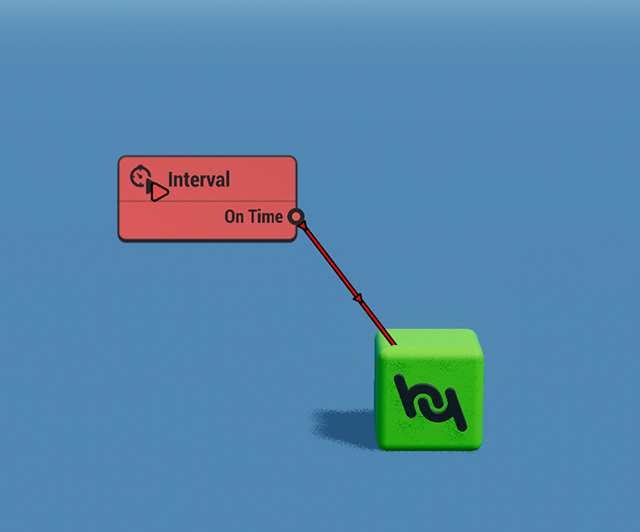
Nodes are connected together with links. Links can be created from Inputs and Outputs, and there are three types of links: Push, Reader and Target links. A Push link can be set to execute events, in which case the link is highlighted in red.

To learn more see Connecting Nodes.
Objects that you add from the Asset library typically contain three embedded nodes, which you can view in the Advanced tab of the Details panel. These default nodes are:
- Visual Node which controls the visual properties of the object including it's 3D model & visual materials
- Object Node with which you can define an object's group and whether it is a reference object
- Physical Node that defines physical properties. This node is only embedded in objects that have physics on
Logic nodes themselves are special objects. When they are added to the scene, they do not have Visual, Object or Physical nodes embedded to them, and they are not visible during game play. They appear as colored rectangles in the editor.

¶ Embedding Nodes to Objects
It is also possible to embed new nodes to an object from the ➕ button of the Advanced Details panel. Embedded nodes are only visible in this panel, which makes logic more difficult to read when remixing games. Embedded nodes can be removed with the 🗑️ button.
Every object can hold up to 9 embedded nodes (not including Visual & Object nodes).
Some nodes are used on specific objects and can only be added by embedding. Thus they are only visible when you access the node listing with the ➕ button of the Advanced details menu.
Examples of nodes that must be embedded to objects:
¶ Related Topics
Working with Logic