¶ Heads-up displays: Coin value display with position
A HUD (Heads-Up Display) provides players with real-time game information without interrupting gameplay.
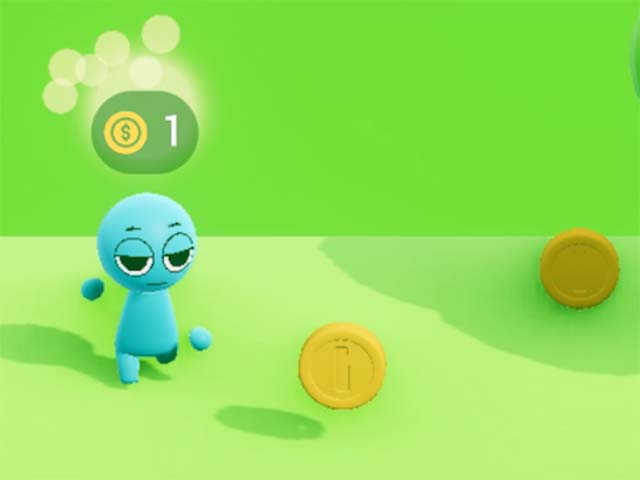
This tutorial shows how to make a HUD that displays the value of a collected coin. This UI will appear above the collected coin and disappear automatically.
¶ How to Display the Coin Value
¶ 1. Prequisite: Complete the previous tutorial
Complete this Score display tutorial and continue working on the same scene.
You should now have a UI which shows an icon and the value of all collected coins.
It's good to also add a premade player so you can playtest, as well as a collectable coin premade.
¶ 2. Add the UI into the Coin's logic
-
Select the Collectable coin and tap Edit
- If necessary, move the Coin's logic container closer to the existing UI node
-
Select the UI node you made in the previous tutorial, duplicate it and drag the copy to the Coin's reusable container
-
Change the name of the duplicated UI to Coin Value
-
Optional: Make this duplicated UI smaller: change the image size to e.g. 30x30 and the text font to 0.8. Feel free to change the image, colors, borders, panel roundness etc.
¶ 3. Make the UI appear at the coin's location
-
Select the new UI and tap Edit
-
Select Hierarchy > Panel
- In Properties, tap Inputs and outputs > turn Position from world vector > On
-
Add a Value inspector node from Logic > Add node > Logic
-
Drag a link from Value inspector's Value output > UI node's Position from world vector input
-
Make the UI show the coin's value:
- Select the Number node in the Coin's logic.
- Drag a link from Number node's Output > UI node's Money Value input
-
if you playtest, you see the UI hovering over the coin, showing the coin's value
¶ 4. Showing and hiding the UI
- Select the UI node and toggle off Visible
- Add a new node: Logic > Add node > Trigger > Interval
- Toggle off On start
- Select the Coin. Open Details > Advanced > Collision Detector
- Tap the Edit icons next to the outgoing links under On Collision Start until you find the link that executes a Destroyer. Delete this link by tapping Trashcan
- Drag a new link: from On collision start > UI node > Visible > On
- Drag a new link: from On collision start > Interval > Play
- Select the Interval
- Drag a link from On time > Coin > Destroyer > Execute
- Playtest!
If all went well, you now have a UI that displays the value of each collected coin at their location - but the whole thing looks a bit clumsy. The coin could disappear faster, and the display could move up over time. Keep going if you want to make these improvements to the example!
¶ 5. Fine-tuning the display
- Add a new node: Add node > Logic > Wave
- Add a new node: Add node > Vectors > Vector Math Operator
- Select Value Inspector
- Delete the earlier output link: tap Edit > Trashcan
- Drag a link: Value Inspector's Output > Vector Math Operator's Vector 1
- Select Wave
- Turn off On Start
- Drag a link: Value Output > Vector Math Operator > Vector 2 Y
- Select Vector Math Operator
- Drag a link from Value output > UI node's Position from World Vector Input
- Select the Coin. Open Details > Advanced > Collision Detector
- Drag a link: On collision start > Coin > Visual > Activation > Visible > Off
- Drag a link: On collision start > Wave > Play
- Select Interval
- set the Duration to 0.5
- Playtest!
¶ Summary of the example
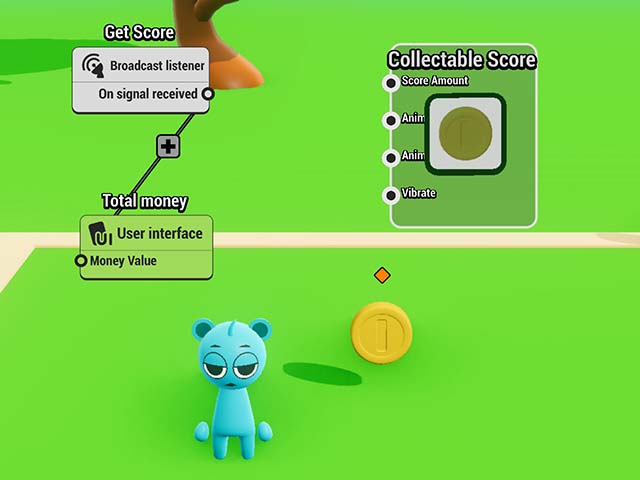
Step 2: The UI node is duplicated and moved into the collectable coin’s reusable logic container. This ensures every coin instance displays its own UI when collected.
Step 3: To position the UI at the coin's location, the Position from world vector input is enabled in the UI node. A Value inspector is used to fetch the coin’s world position and pass it to the UI. The Value inspector can access many kinds of data from its source object, and by default it fetches the source’s position vector. Additionally, the Number node storing the coin’s value is linked to the UI so the correct value is always shown — even if it changes.
Step 4: The UI should be hidden by default and shown only when the player collects a coin. The collision is detected with a Collision detector, which is embedded in the base object inside the reusable container (the coin model). This embedded logic can be accessed via the Advanced panel. Similarly, the Destroyer node is also embedded in the base object. When a collision starts, the UI is made visible, and an Interval node is triggered. Instead of destroying the coin immediately, the Destroyer is executed after a 1-second delay, giving time for the UI to appear before the coin is removed.
Step 5: To add polish, the UI is animated to float upwards. A Wave node generates a rising Y value over time. This is combined with the coin’s position using a Vector Math Operator. Vectors are made of three components — X, Y, and Z — representing positions or directions in 3D space. The Vector Math Operator allows you to add, subtract, or otherwise manipulate vectors. In this case, it adds a rising Y value (from the Wave node) to the coin’s position, causing the UI to move upward smoothly while staying aligned with the coin's original X and Z positions. The coin itself is hidden on collision and destroyed after the delay, ensuring the UI has time to be seen.
¶ Related Topics
How to make a score display Creating Game UIs UI Node Broadcasting